One of the accessories that Tyny didn’t come with that was towards the top of our list was original fog lights. We have been researching the heck out of these, and there really isn’t a lot online about them. Don’t get me wrong, there are several people on Japanese language sites that are installing them, it is just nobody has part numbers, wiring diagrams– frankly anything but existing parts.
In our searches an auction came up and we bit, despite the lack of info.

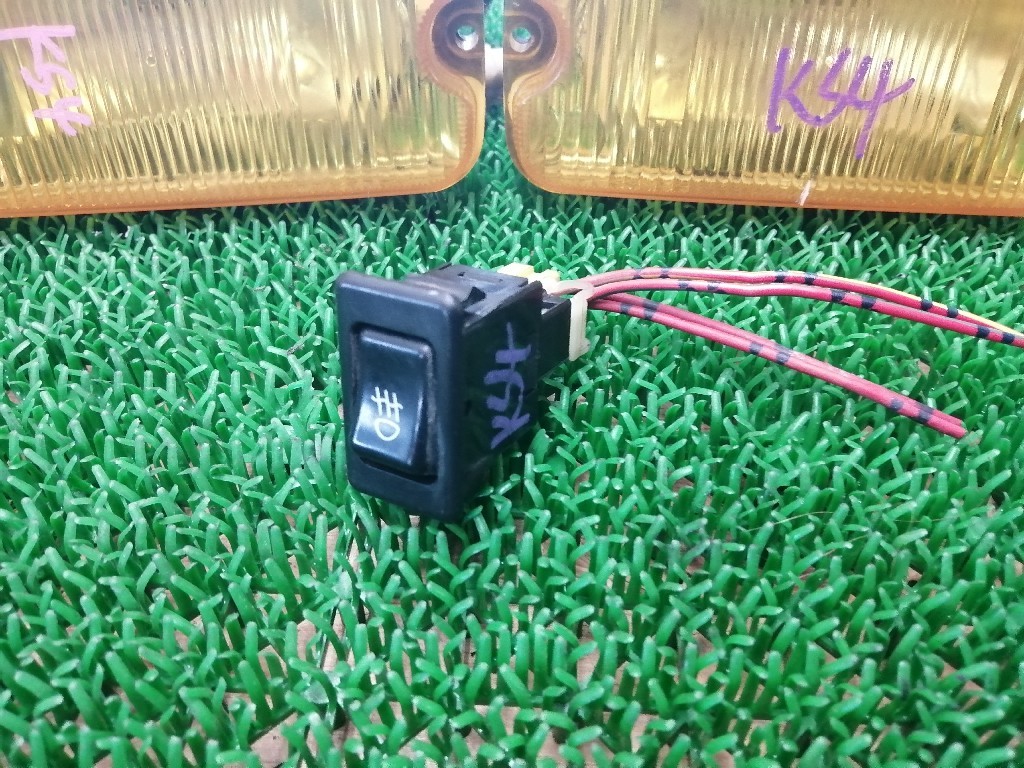
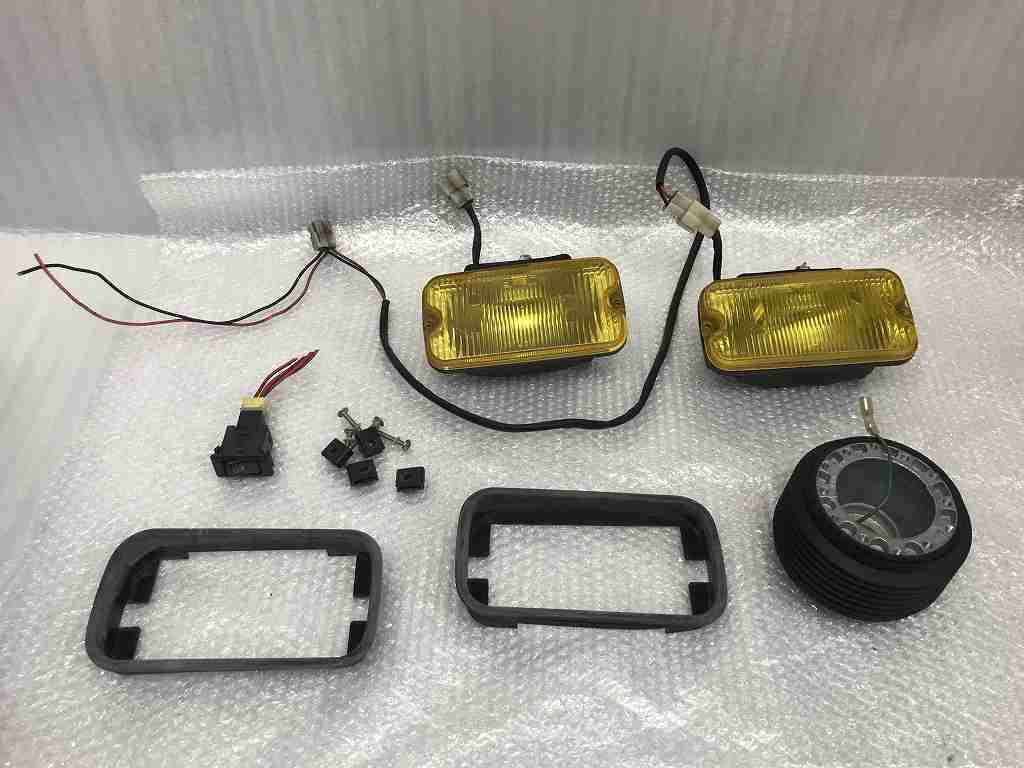
One of the things that made this more appealing is that it comes with the switch. Many don’t. What we didn’t realize is that it didn’t come with the bezels that are really necessary to have a good look. I have also seen some that actually have the whole wiring harness, and that would be even more dreamy, but very few have that. Regardless, these seemed to be in good shape, and arrived pretty much as expected.
If you look on the bumper, there is an outline where you cut out for the fog lights.
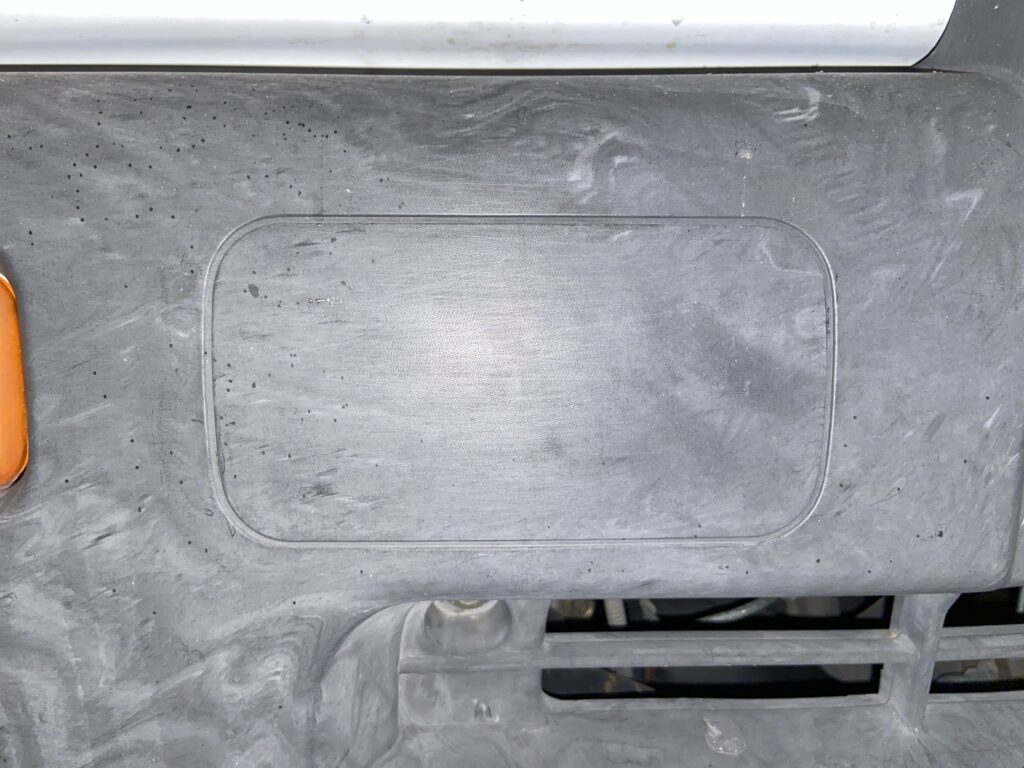
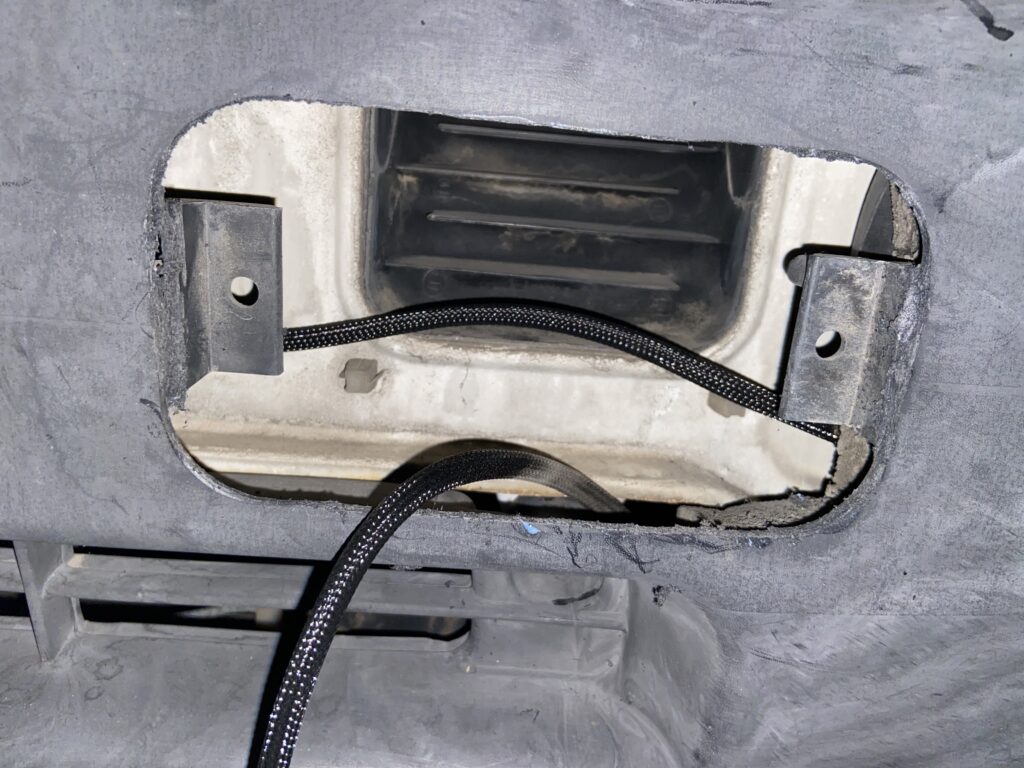
What you don’t see is that the brackets to mount the fog lights are actually molded into the other side of the bumper. If you can use a cutting disk and small flap wheel on a rotary tool, you should be able to cut this out. We covered it with blue painter’s tape to protect the rest of the bumper and minimize gouges. Where possible we went from the inside of the bumper. Plan on removing the bumper to do this. Two orange marker lights need to come off, and it is just five 10mm nuts to remove the bumper. There are clips on the side, but they seem pretty robust. If you are reasonably careful, it is unlikely you will break them.
We are not going to go into a step by step install of the lights. It will vary too much for each installation and set of lights you get.
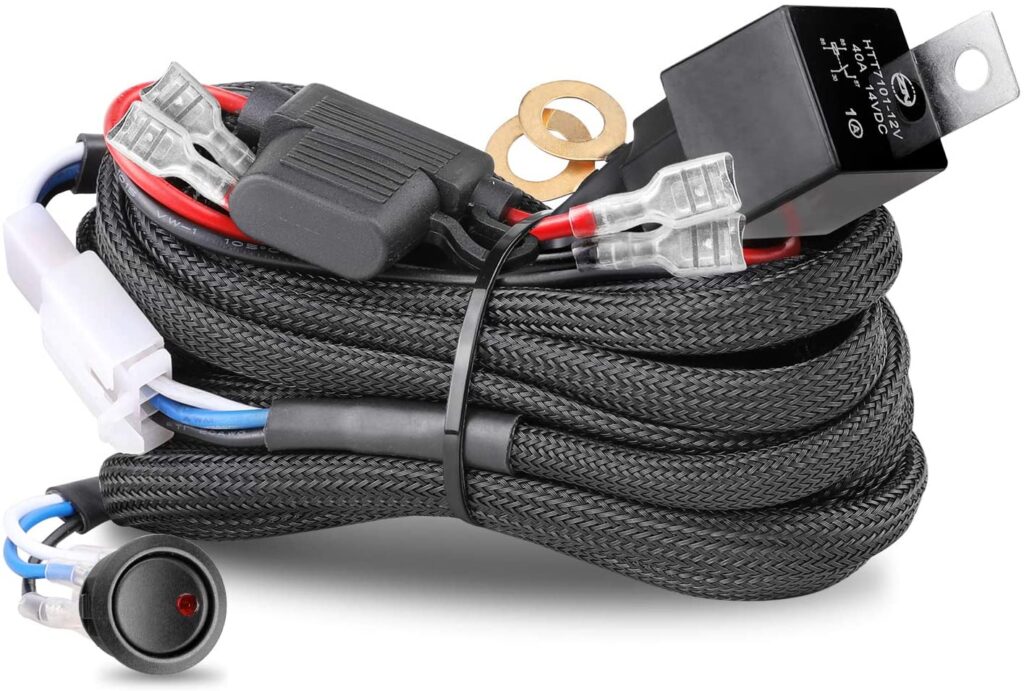
We chose to pick up a harness from Amazon for about $14. This came with a lot of the things you will need, and even has the relay and a fuse included. If anything there is WAY too much wire.
We were able to pull the switch off, and combining two wires on each side of the stock switch, were able to connect it to the blue and the white wires. The black one lights the LED, and our switch doesn’t use that.
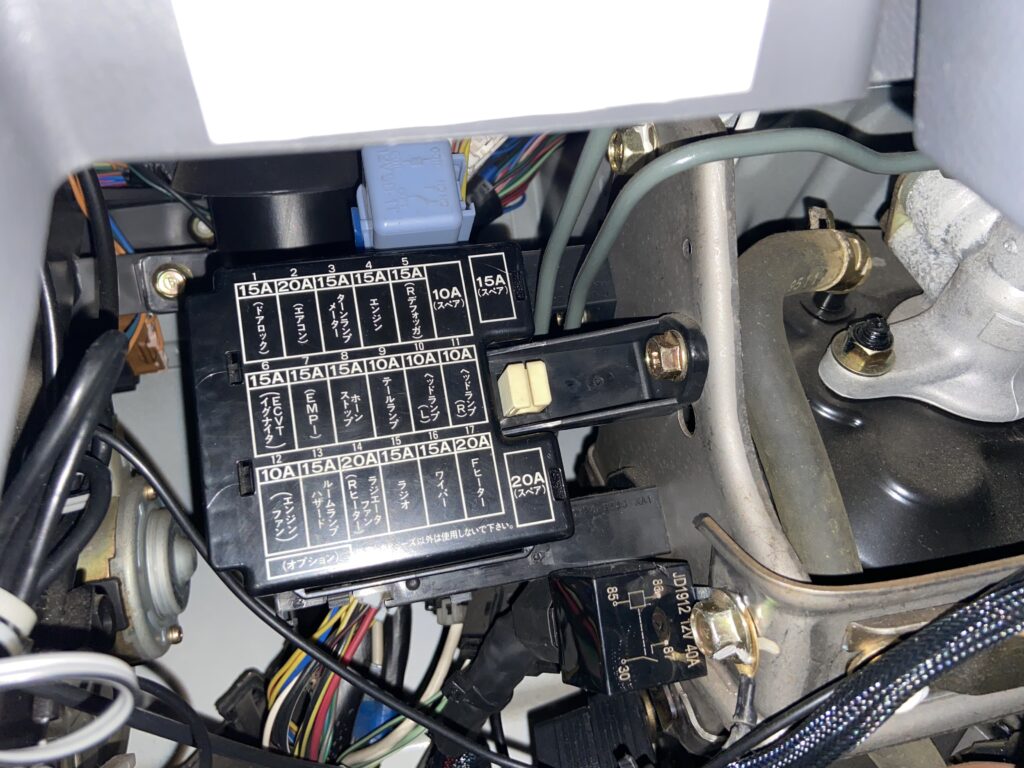
We were able to tap into a wire that was being used for another light in the back. It is a red wire in the same loom as the brake light switch.
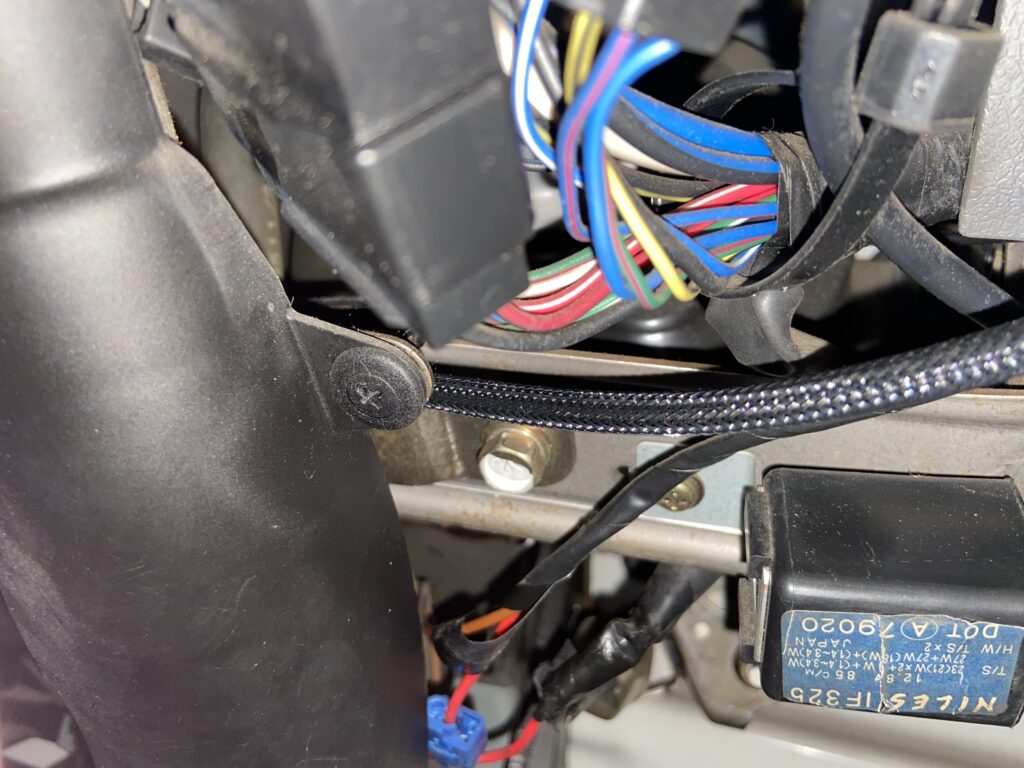
The negative and relay were put on the other side of the steering column.
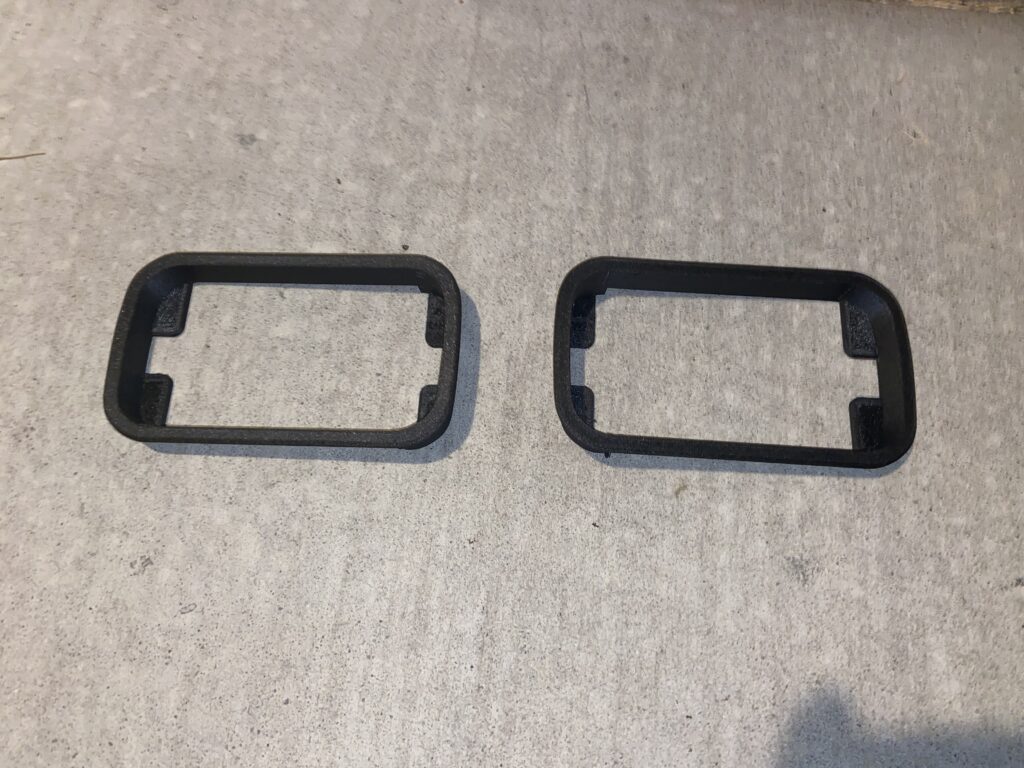
The big issue was that the bezel was missing. Here is another auction listing showing what they look like.
Fortunately these are exactly the kind of thing a 3D printer is great at.
So, after some CADing and many prints to dial it in this is what we came up with:
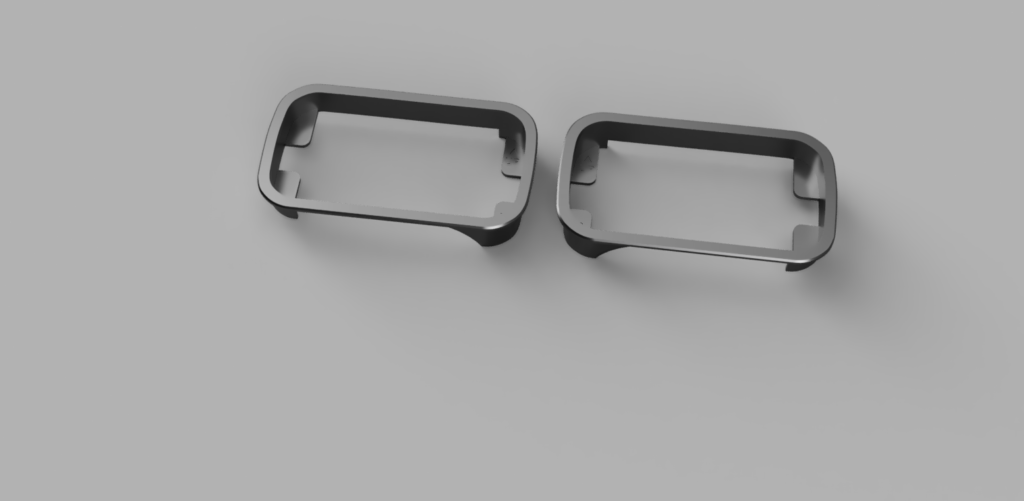
And after printing in Priline Carbon Fiber Polycarbonate/PLA blend they ended up looking like this:
You can download the STL Files on Thingiverse here https://www.thingiverse.com/thing:4906540
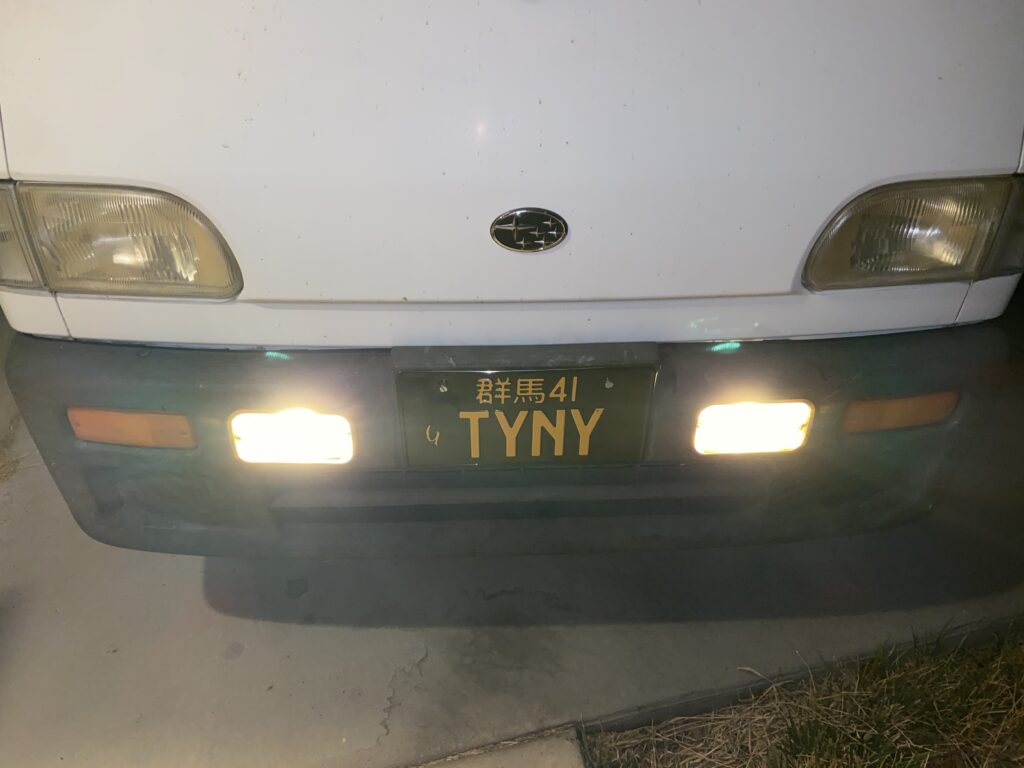
And the final install looks really nice:
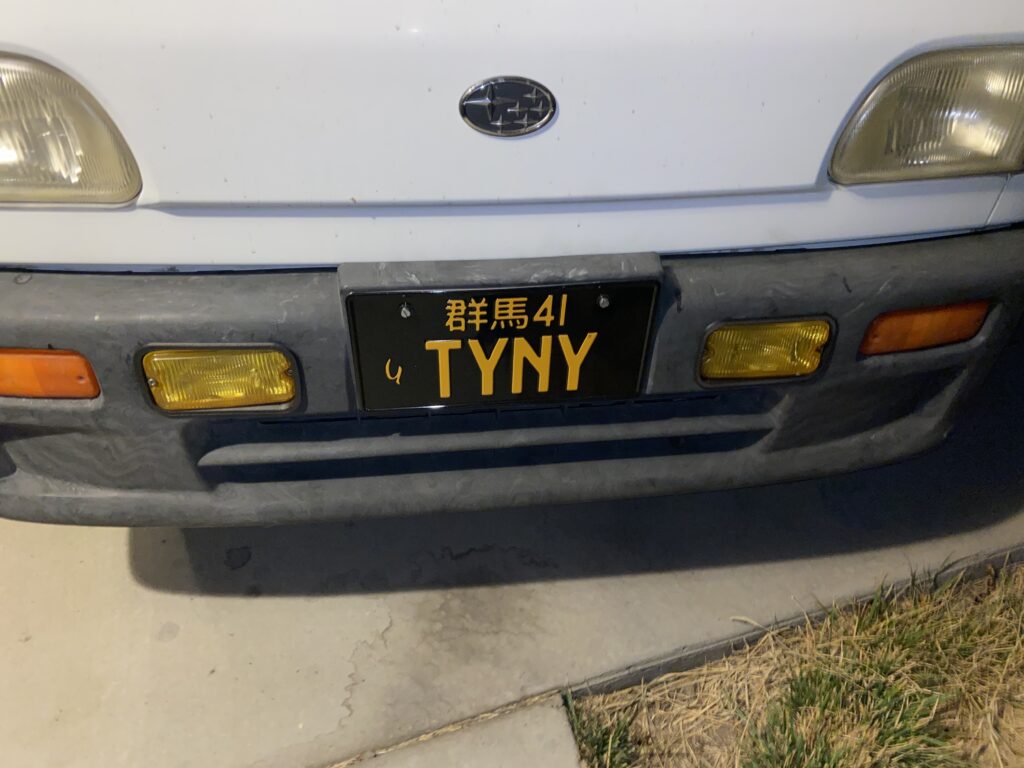
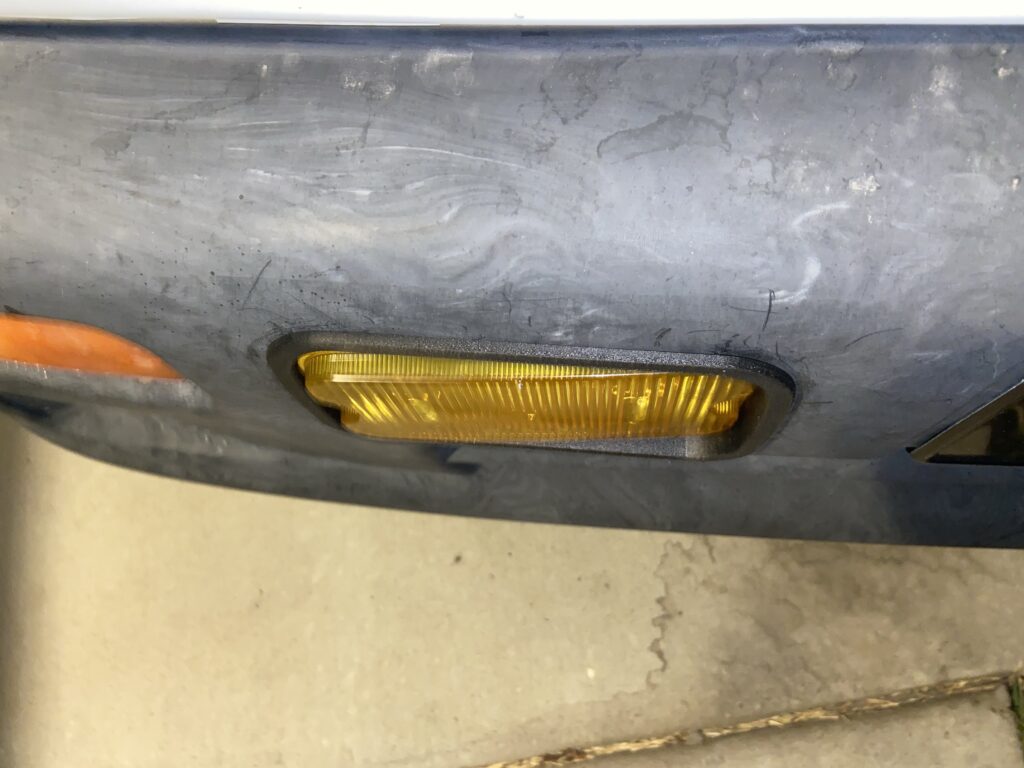
Note the slant the light is on. The brackets are different depths to intentionally tilt the light. It also tips it slightly down. The effect means that despite the curve in the bumper, the front plane of the lights are essentially a flat plane.
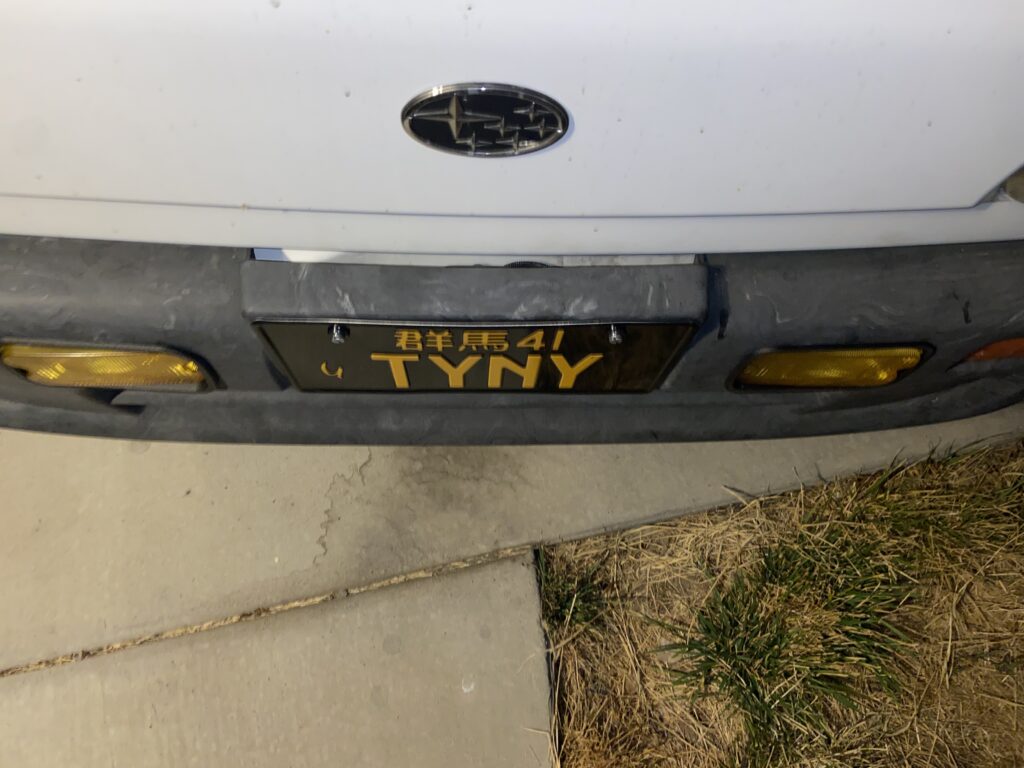
And here they are on:
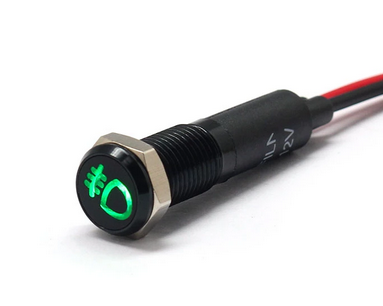
One good thing is you can turn them on independent of the key switch. One bad thing is you can leave them on independent of the key switch. Our plan is to install a dash indicator light when we install a tachometer down the road.
Something like this:
That is another project for another day. For now we are just waiting to go test them out in fog.